Residential Wood Fence Installation in Houston, TX
Natural beauty, privacy, and craftsmanship—built by Texas Fence with premium cedar and expert care


Durable Wood Fences for Houston Homes
At Texas Fence, we specialize in building residential wood fences that offer both privacy and curb appeal. With over two decades of experience in the Houston area, we understand how to design and install wood fences that withstand the Texas heat, humidity, and storms.
We use only top-quality materials like Western Red Cedar and pressure-treated pine, and every fence is custom-built on-site to fit your yard’s exact layout. Whether you need to replace an old fence or want to enhance your outdoor space, we’re here to help.

Licensed and Insured
Our installation team operates with full professional licensing and insurance coverage.

Personalized Design
We offer personalized choices for fence designs.

HOA & Permit Compliance
We handle all HOA approvals and permitting to ensure your fence project meets local regulations without any hassle.

100% Satisfaction Guarantee
Our company provides a 100% satisfaction guarantee to all customers.
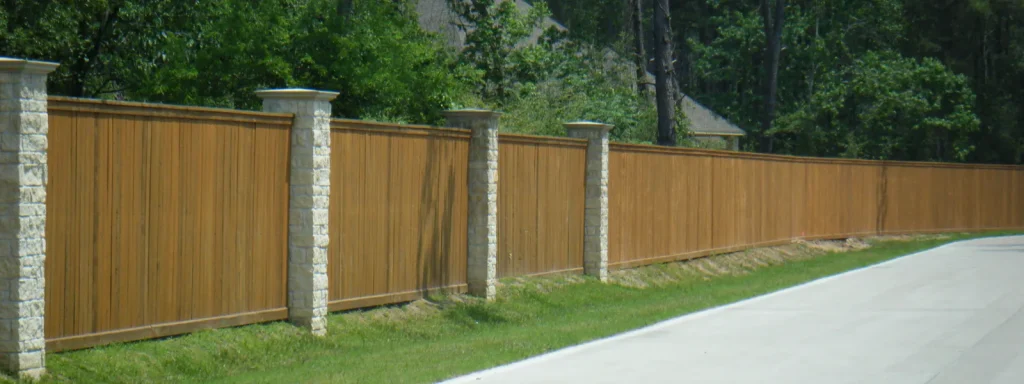
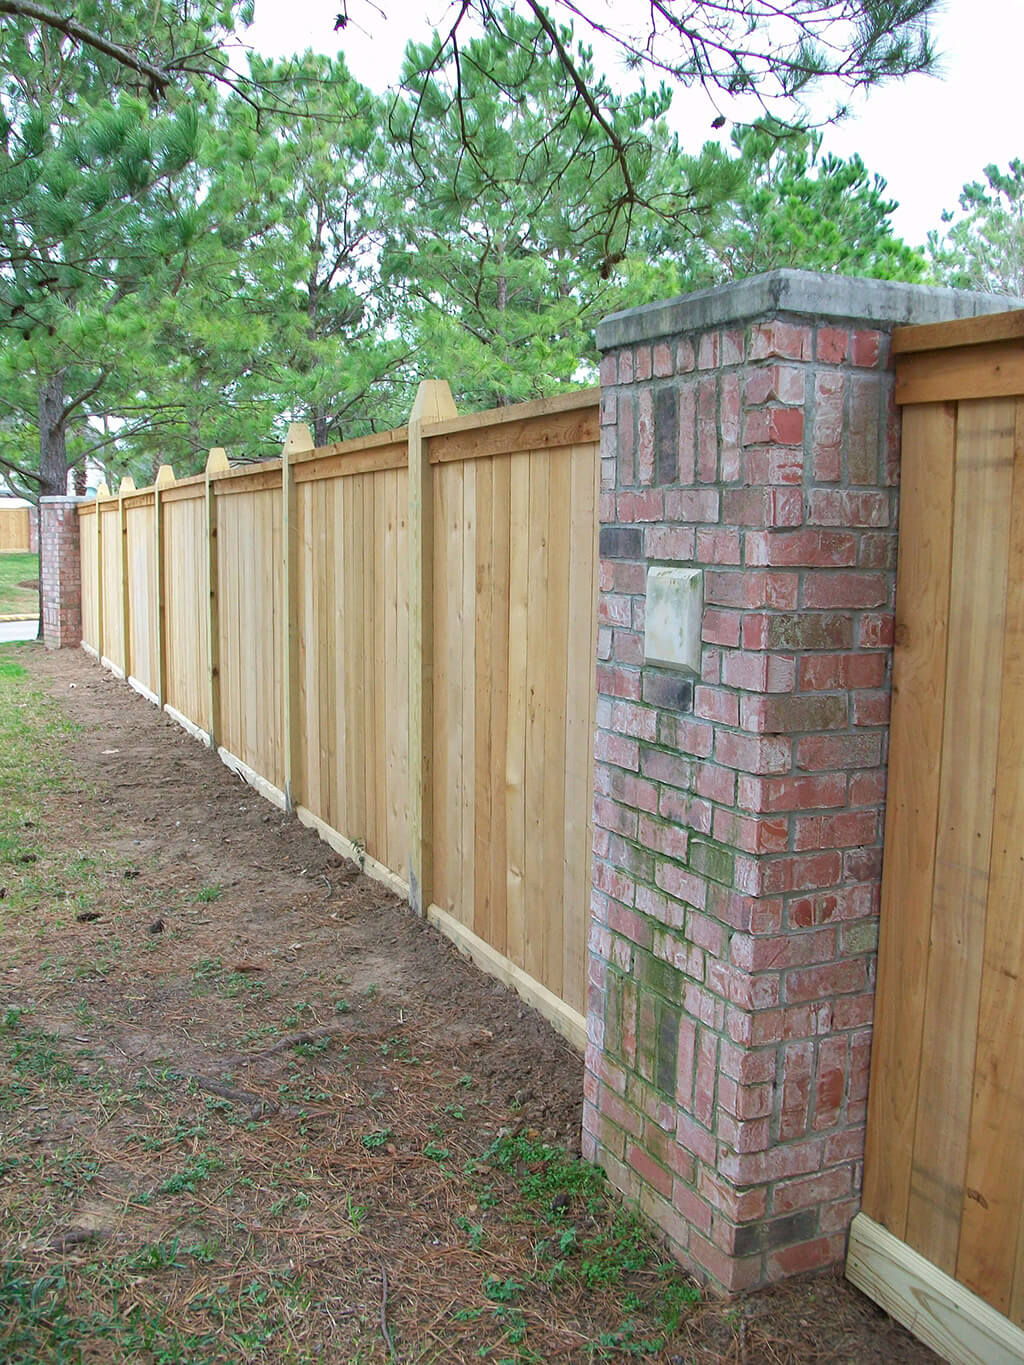
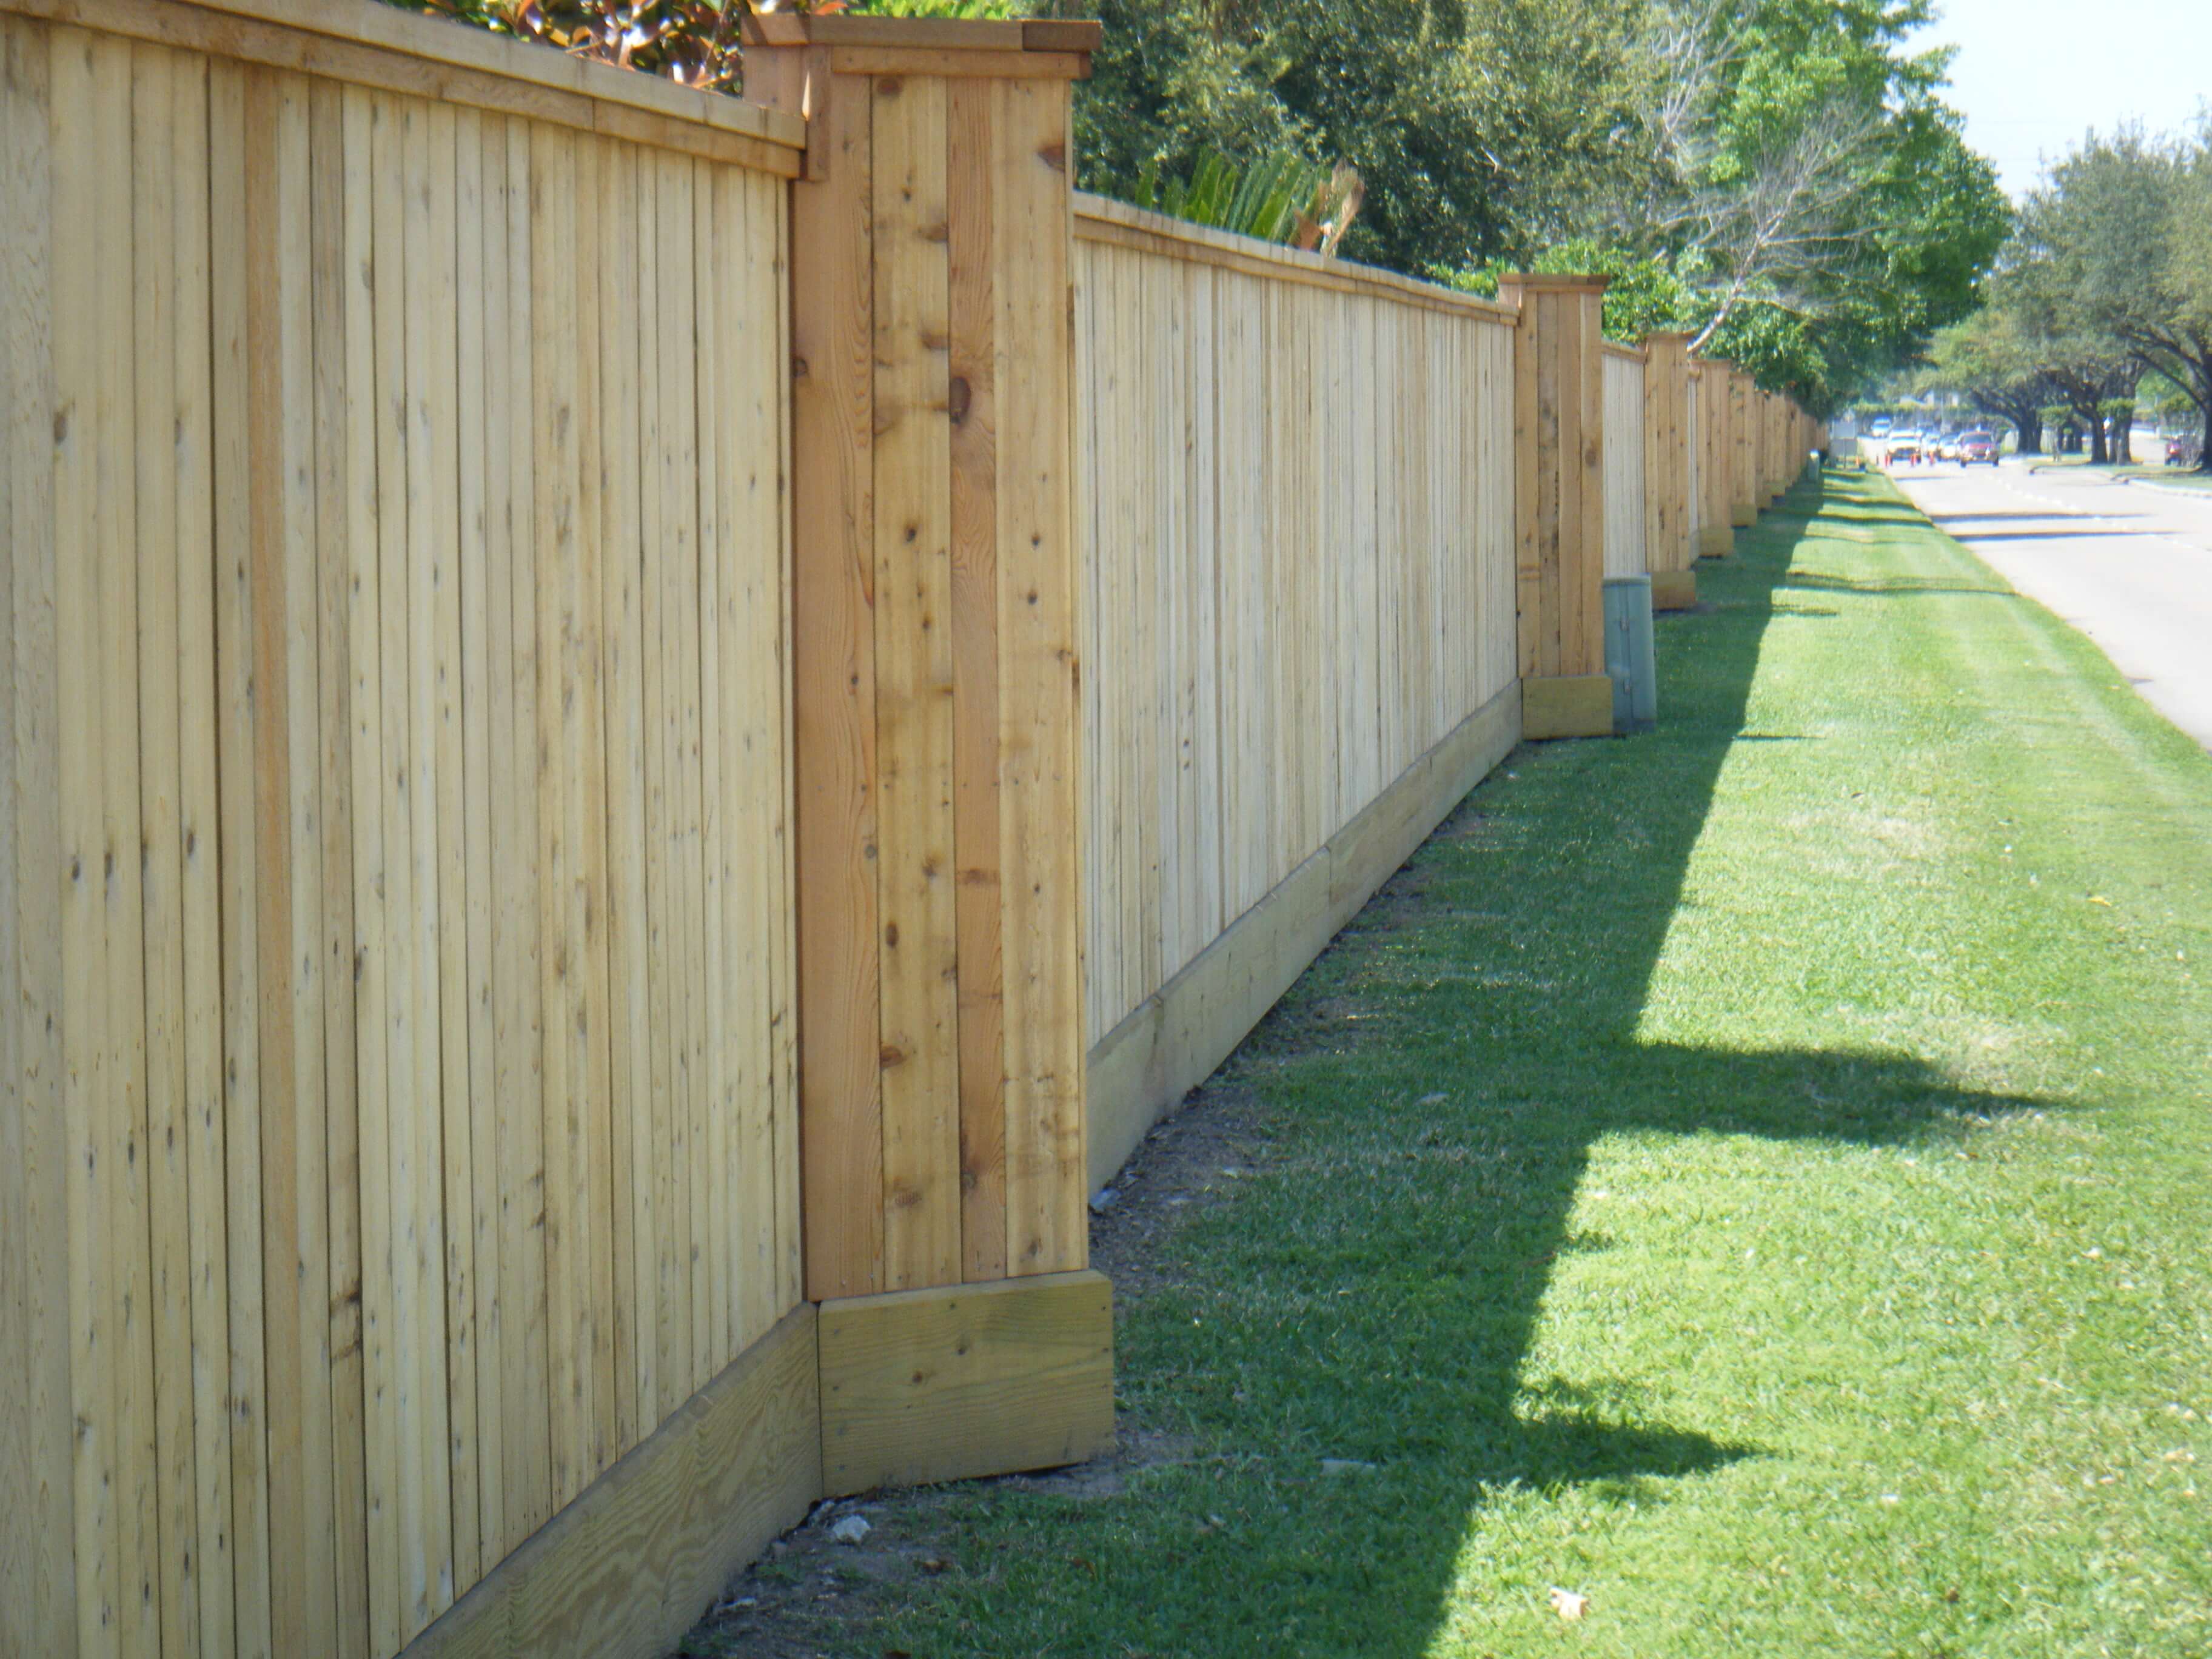
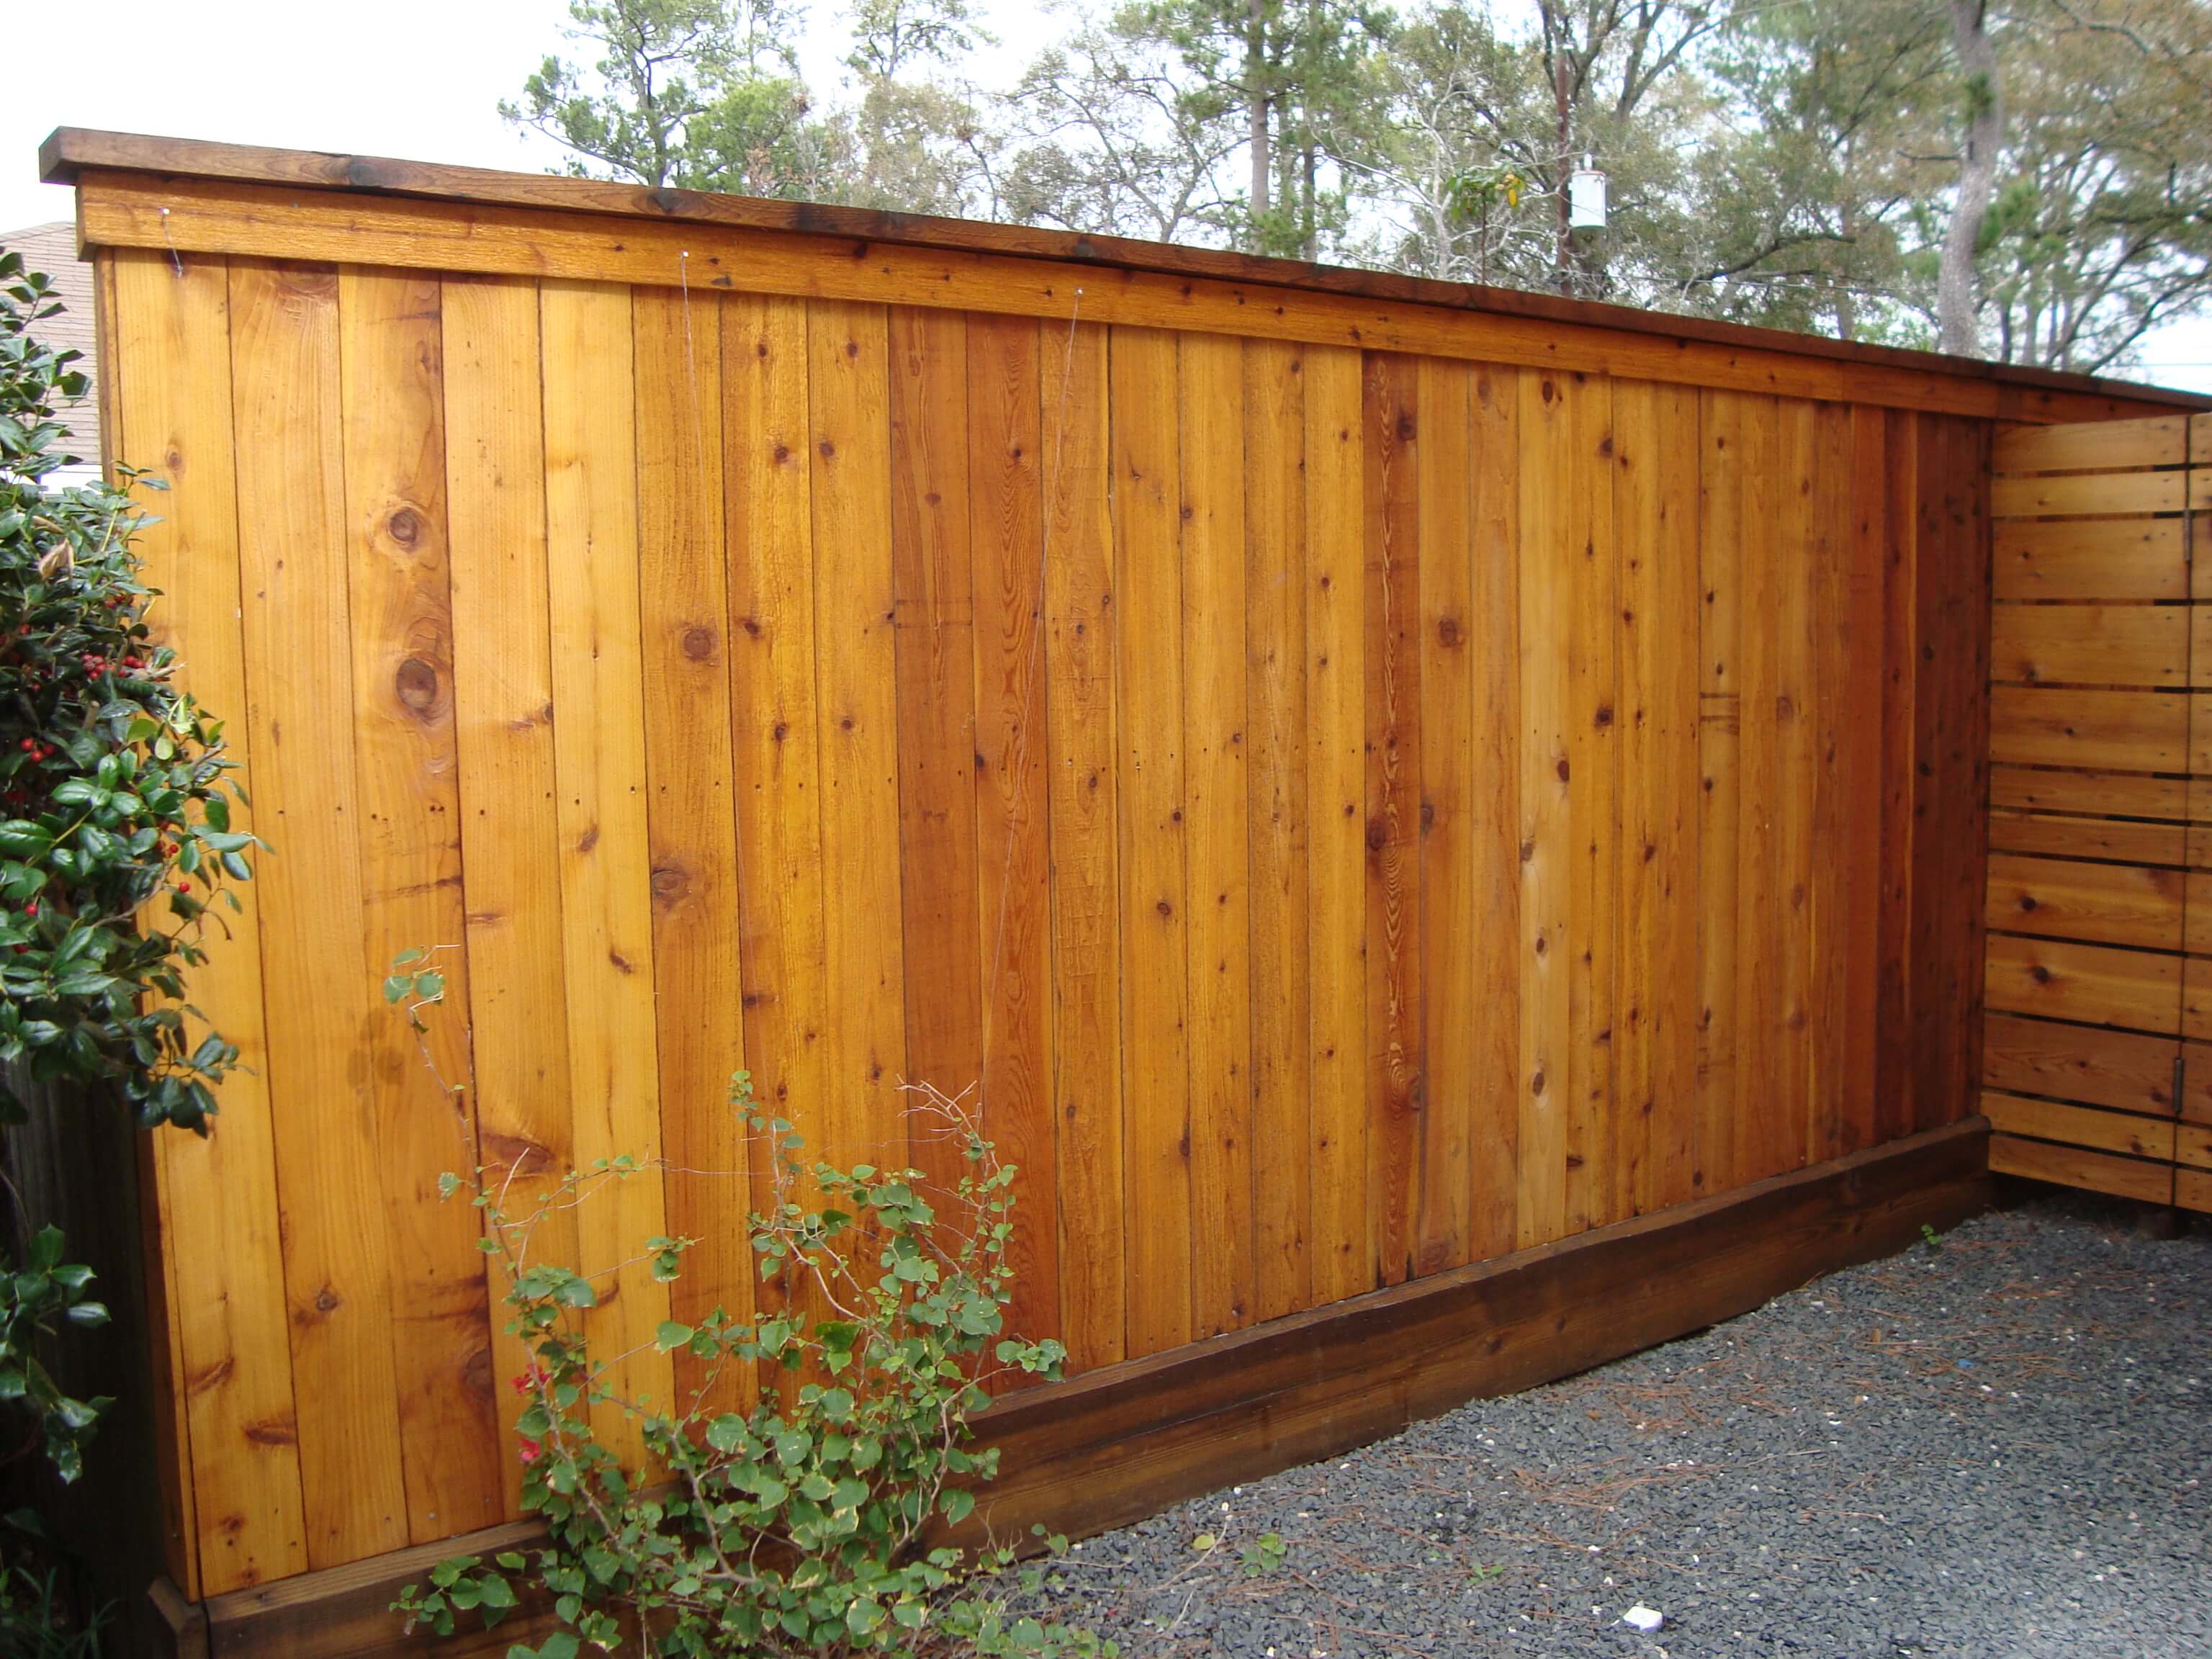
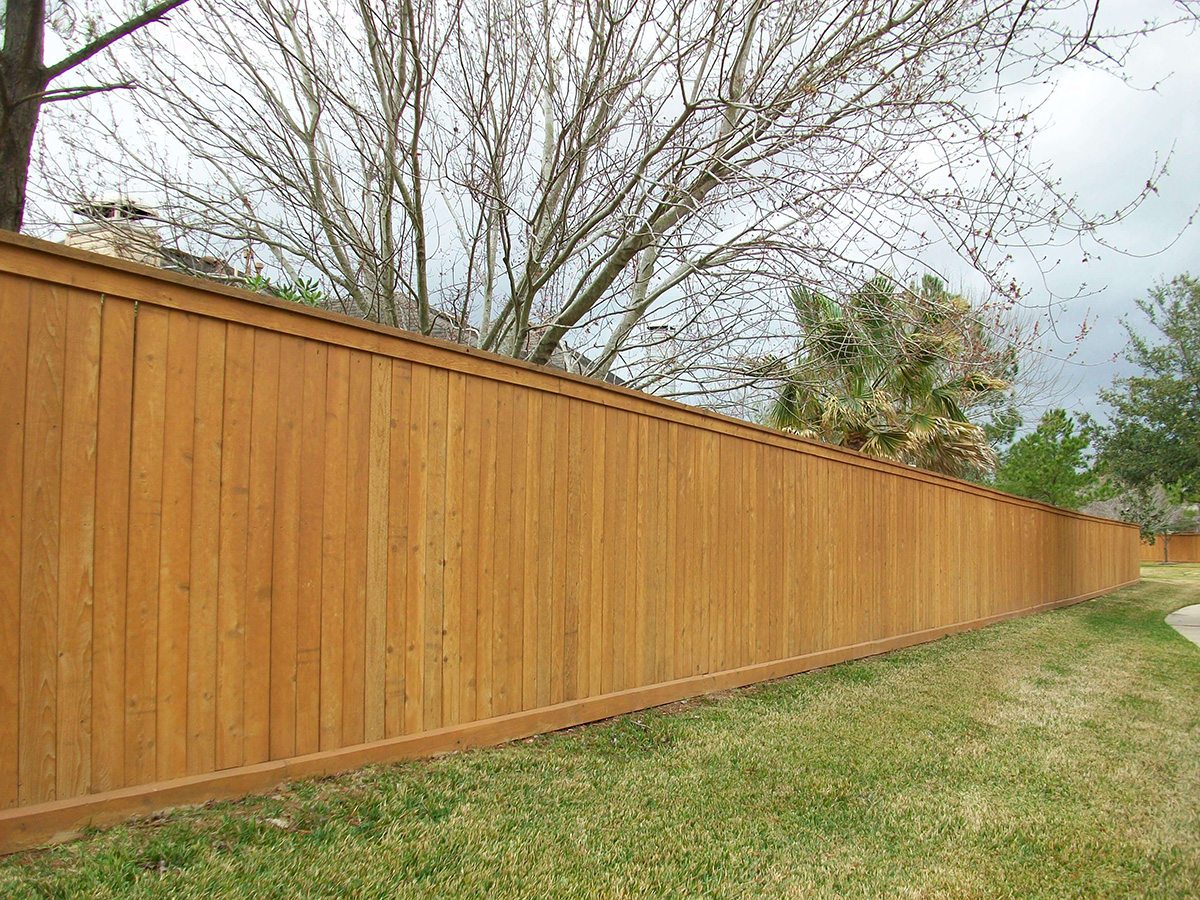
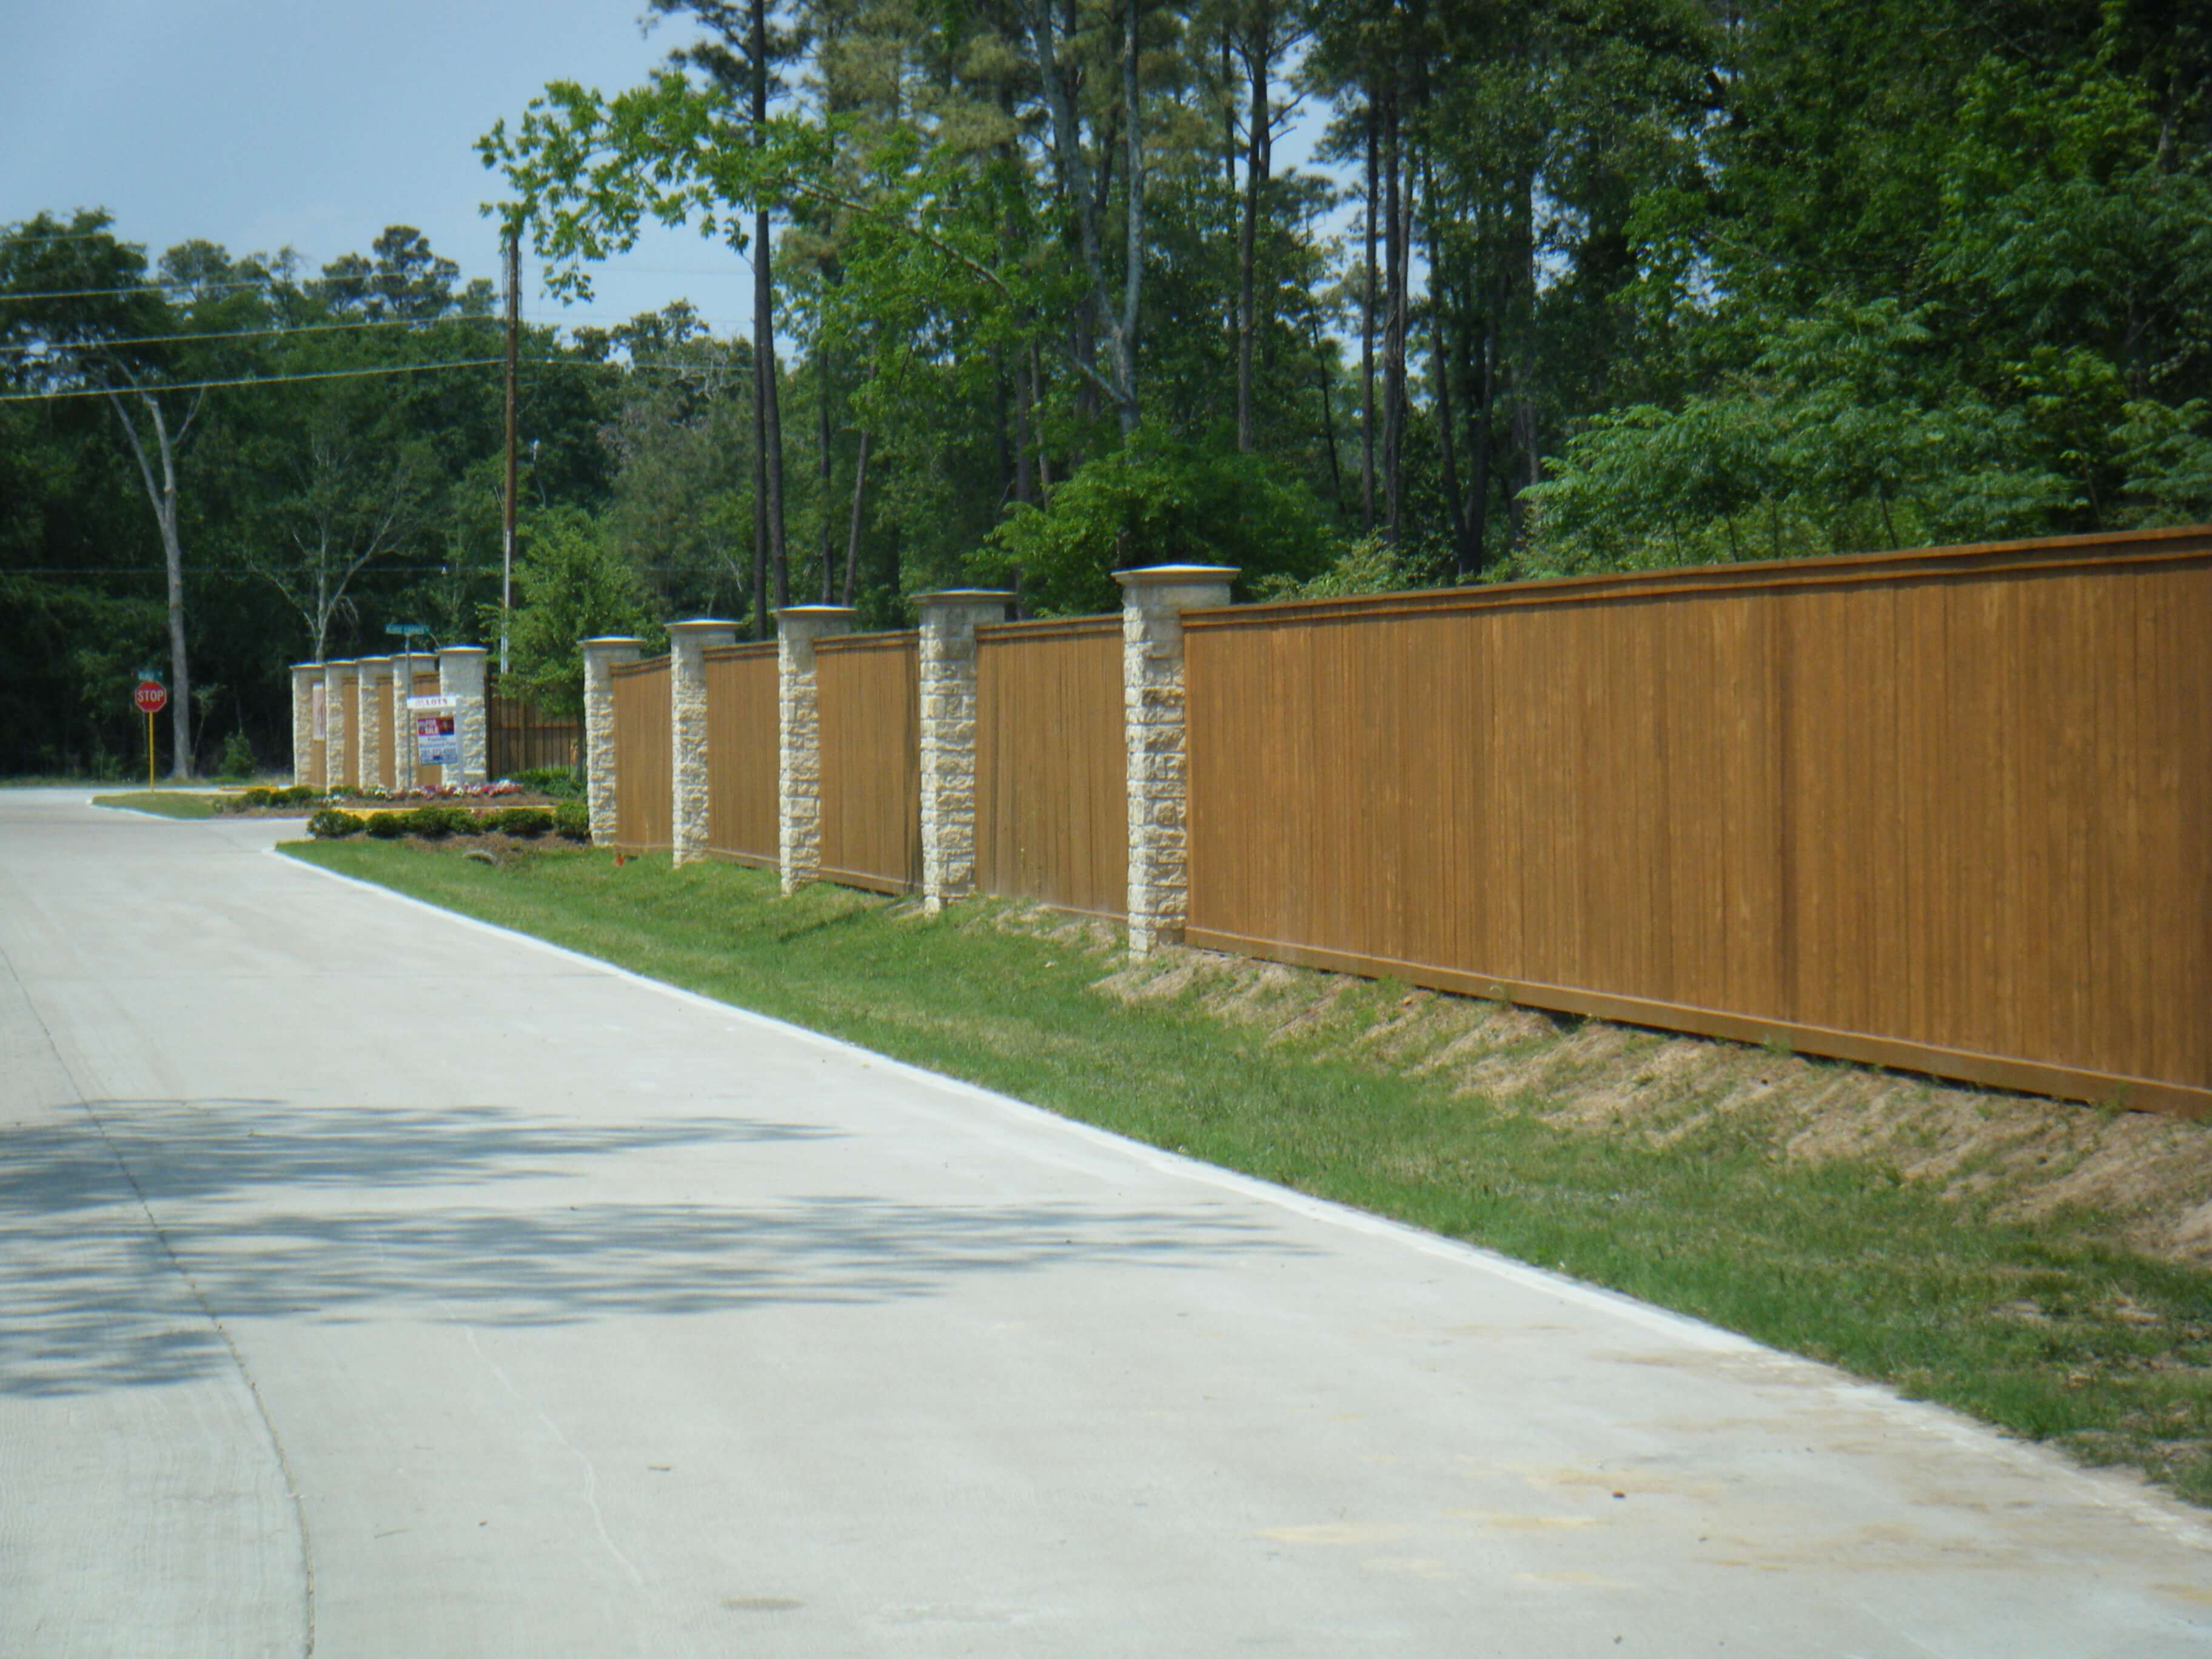
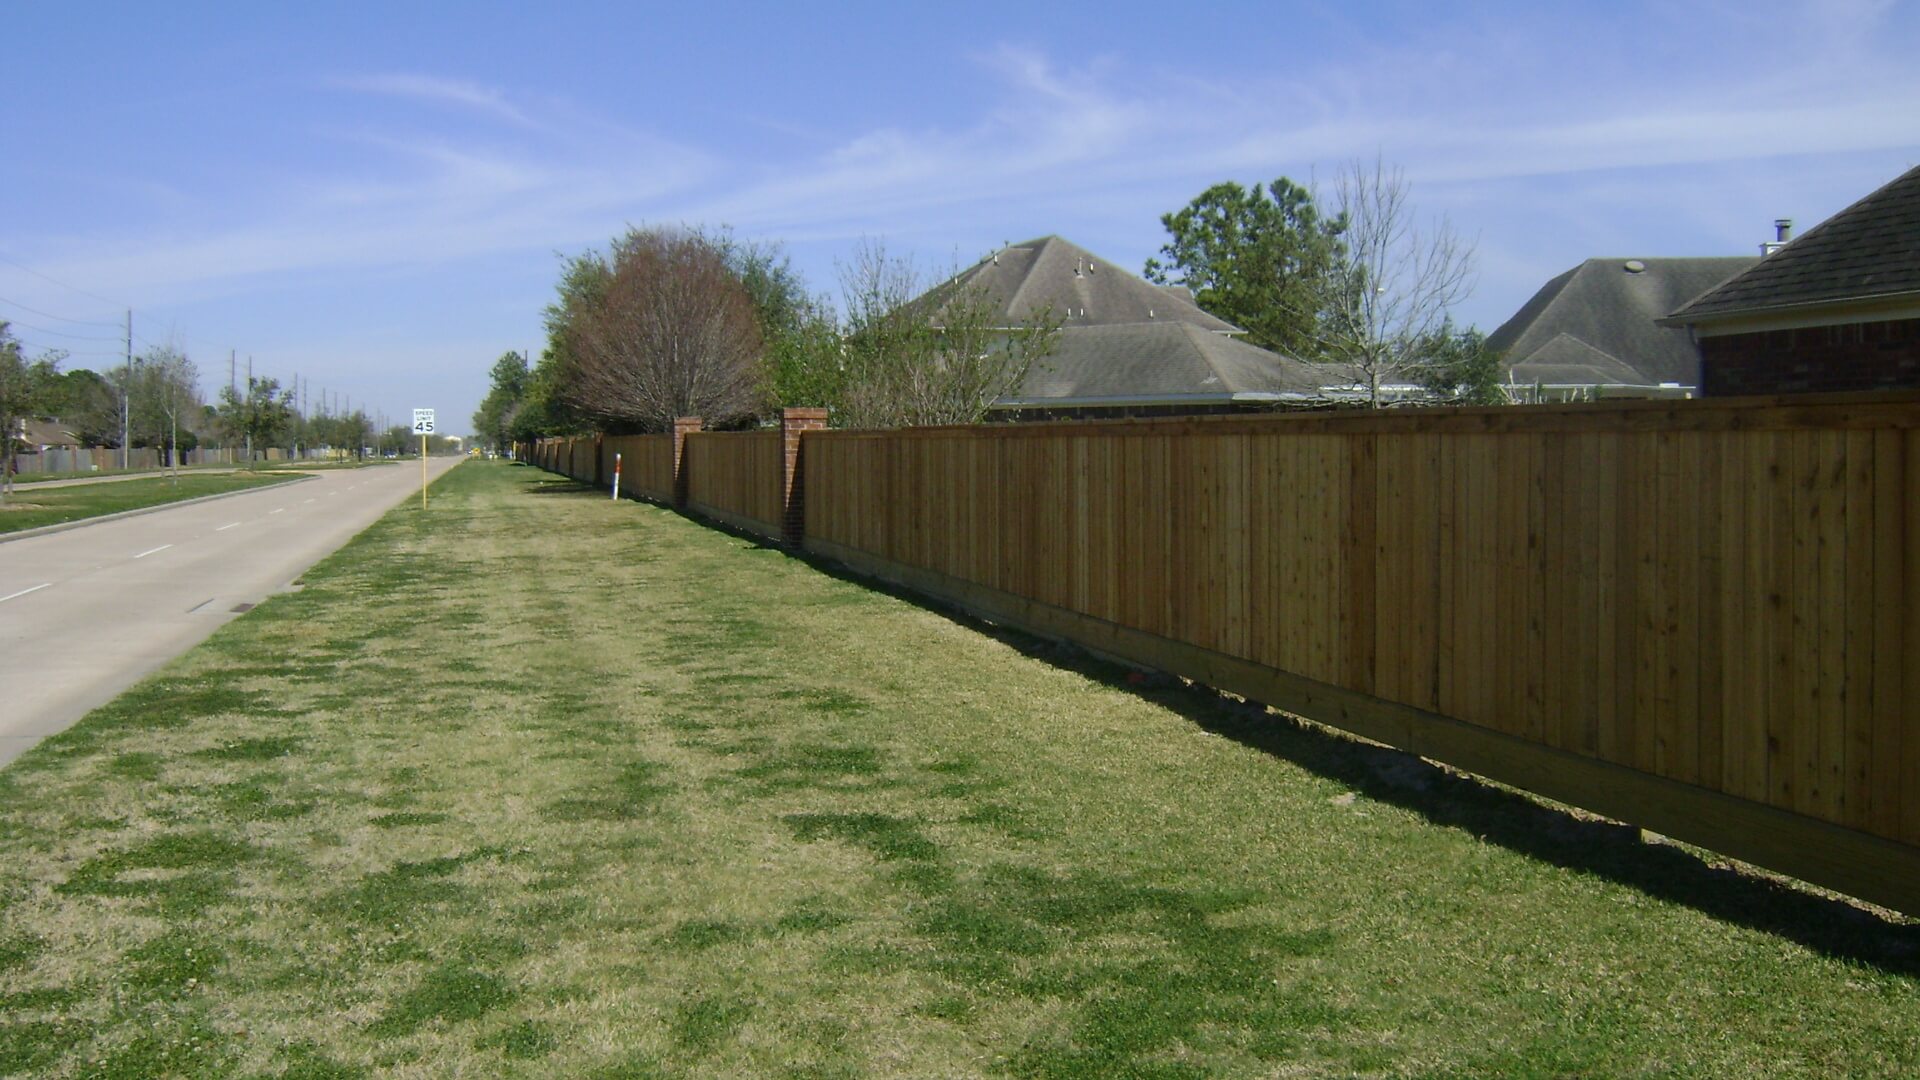
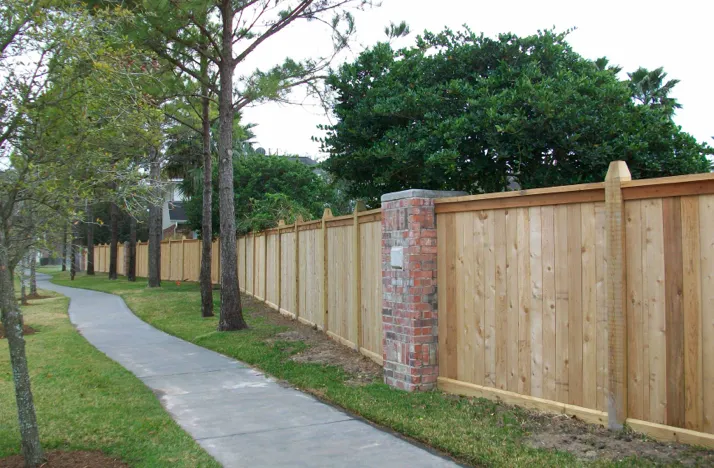
Featured Projects
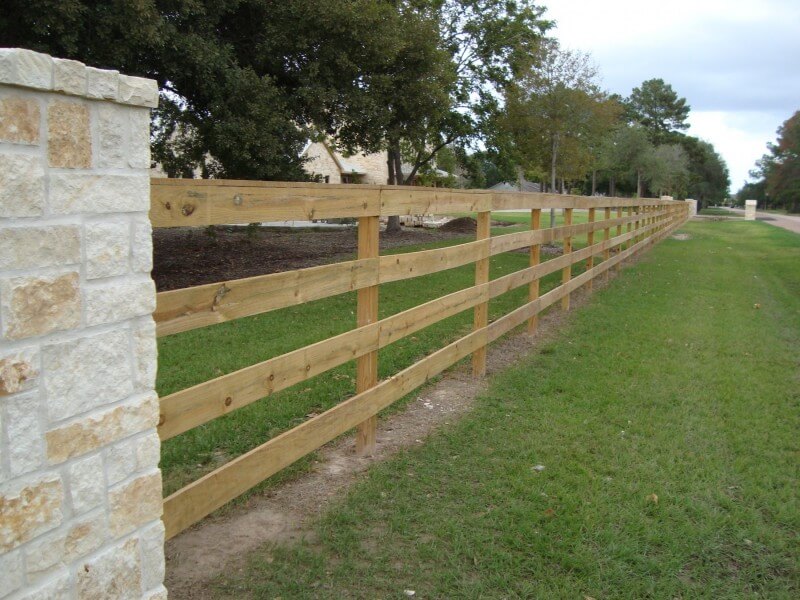
The company has installed fences throughout multiple residential areas and suburban neighborhoods and rural residential properties throughout the region. Check out the recent installation photos below.

Customer Reviews
Valued Clients
We had Texas Fence replace all of the fencing around our back yard in 2016. Great job. Just had them replace a few of the post that have rotted. Again very professional and great service. I particularly want to thank ‘Bullet’ and Les for their work.
Bullet and Les were fantastic to work with from start to finish. The price was great, and the communication throughout the entire process was excellent. The workmanship from the crew that installed the fence did an amazing job, it looks great! Highly recommend Texas Fence!
Wood Fence Types We Offer
- Side-by-Side Fence
Classic vertical board style for privacy and affordability - Board-on-Board Fence
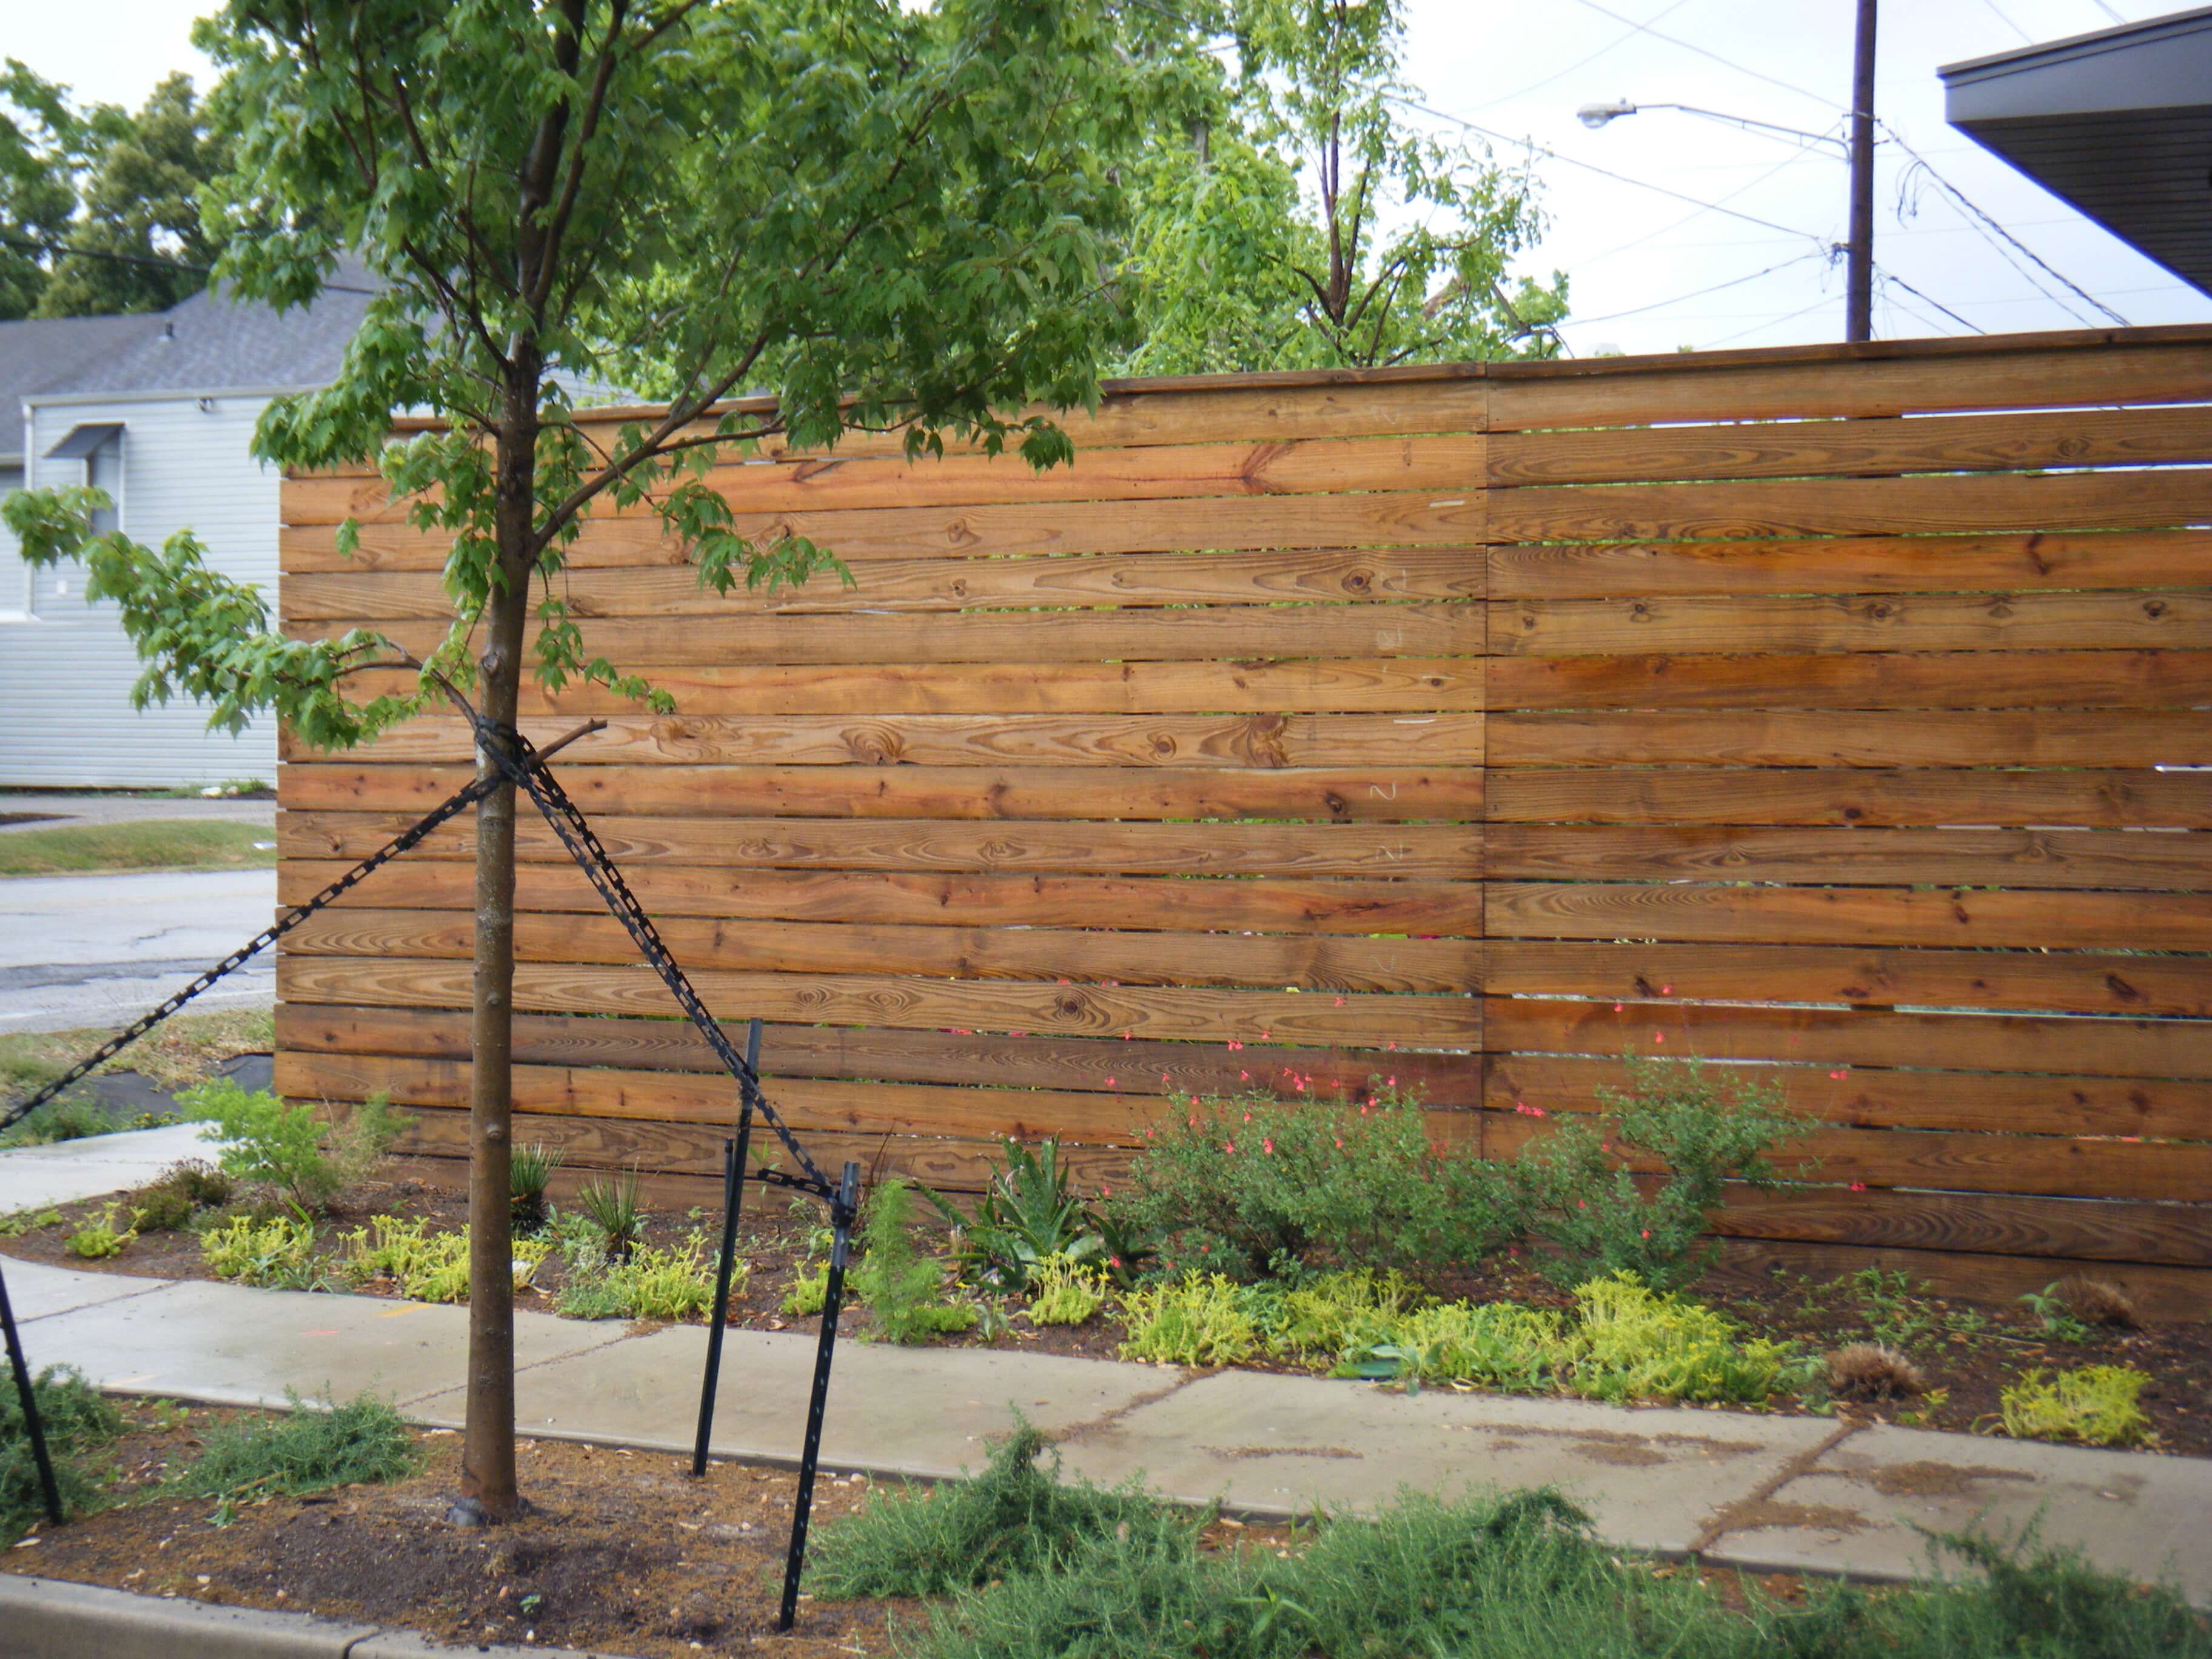
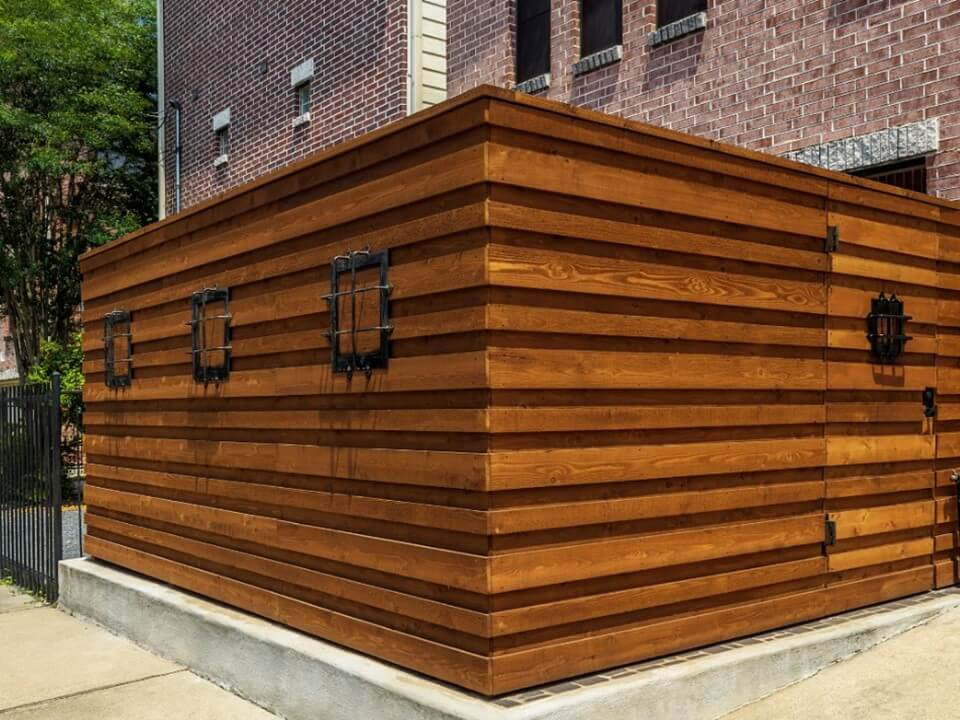
Overlapping boards for enhanced privacy with no gaps - Horizontal Fence
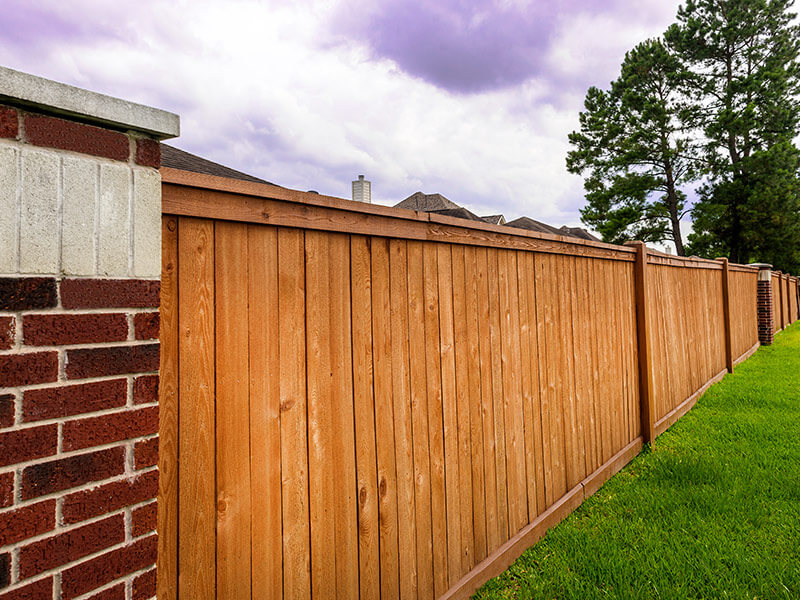
Modern design using cedar or composite slats - Cap and Trim Fence
Decorative top rail and trim for a finished look - Lattice Top Fence
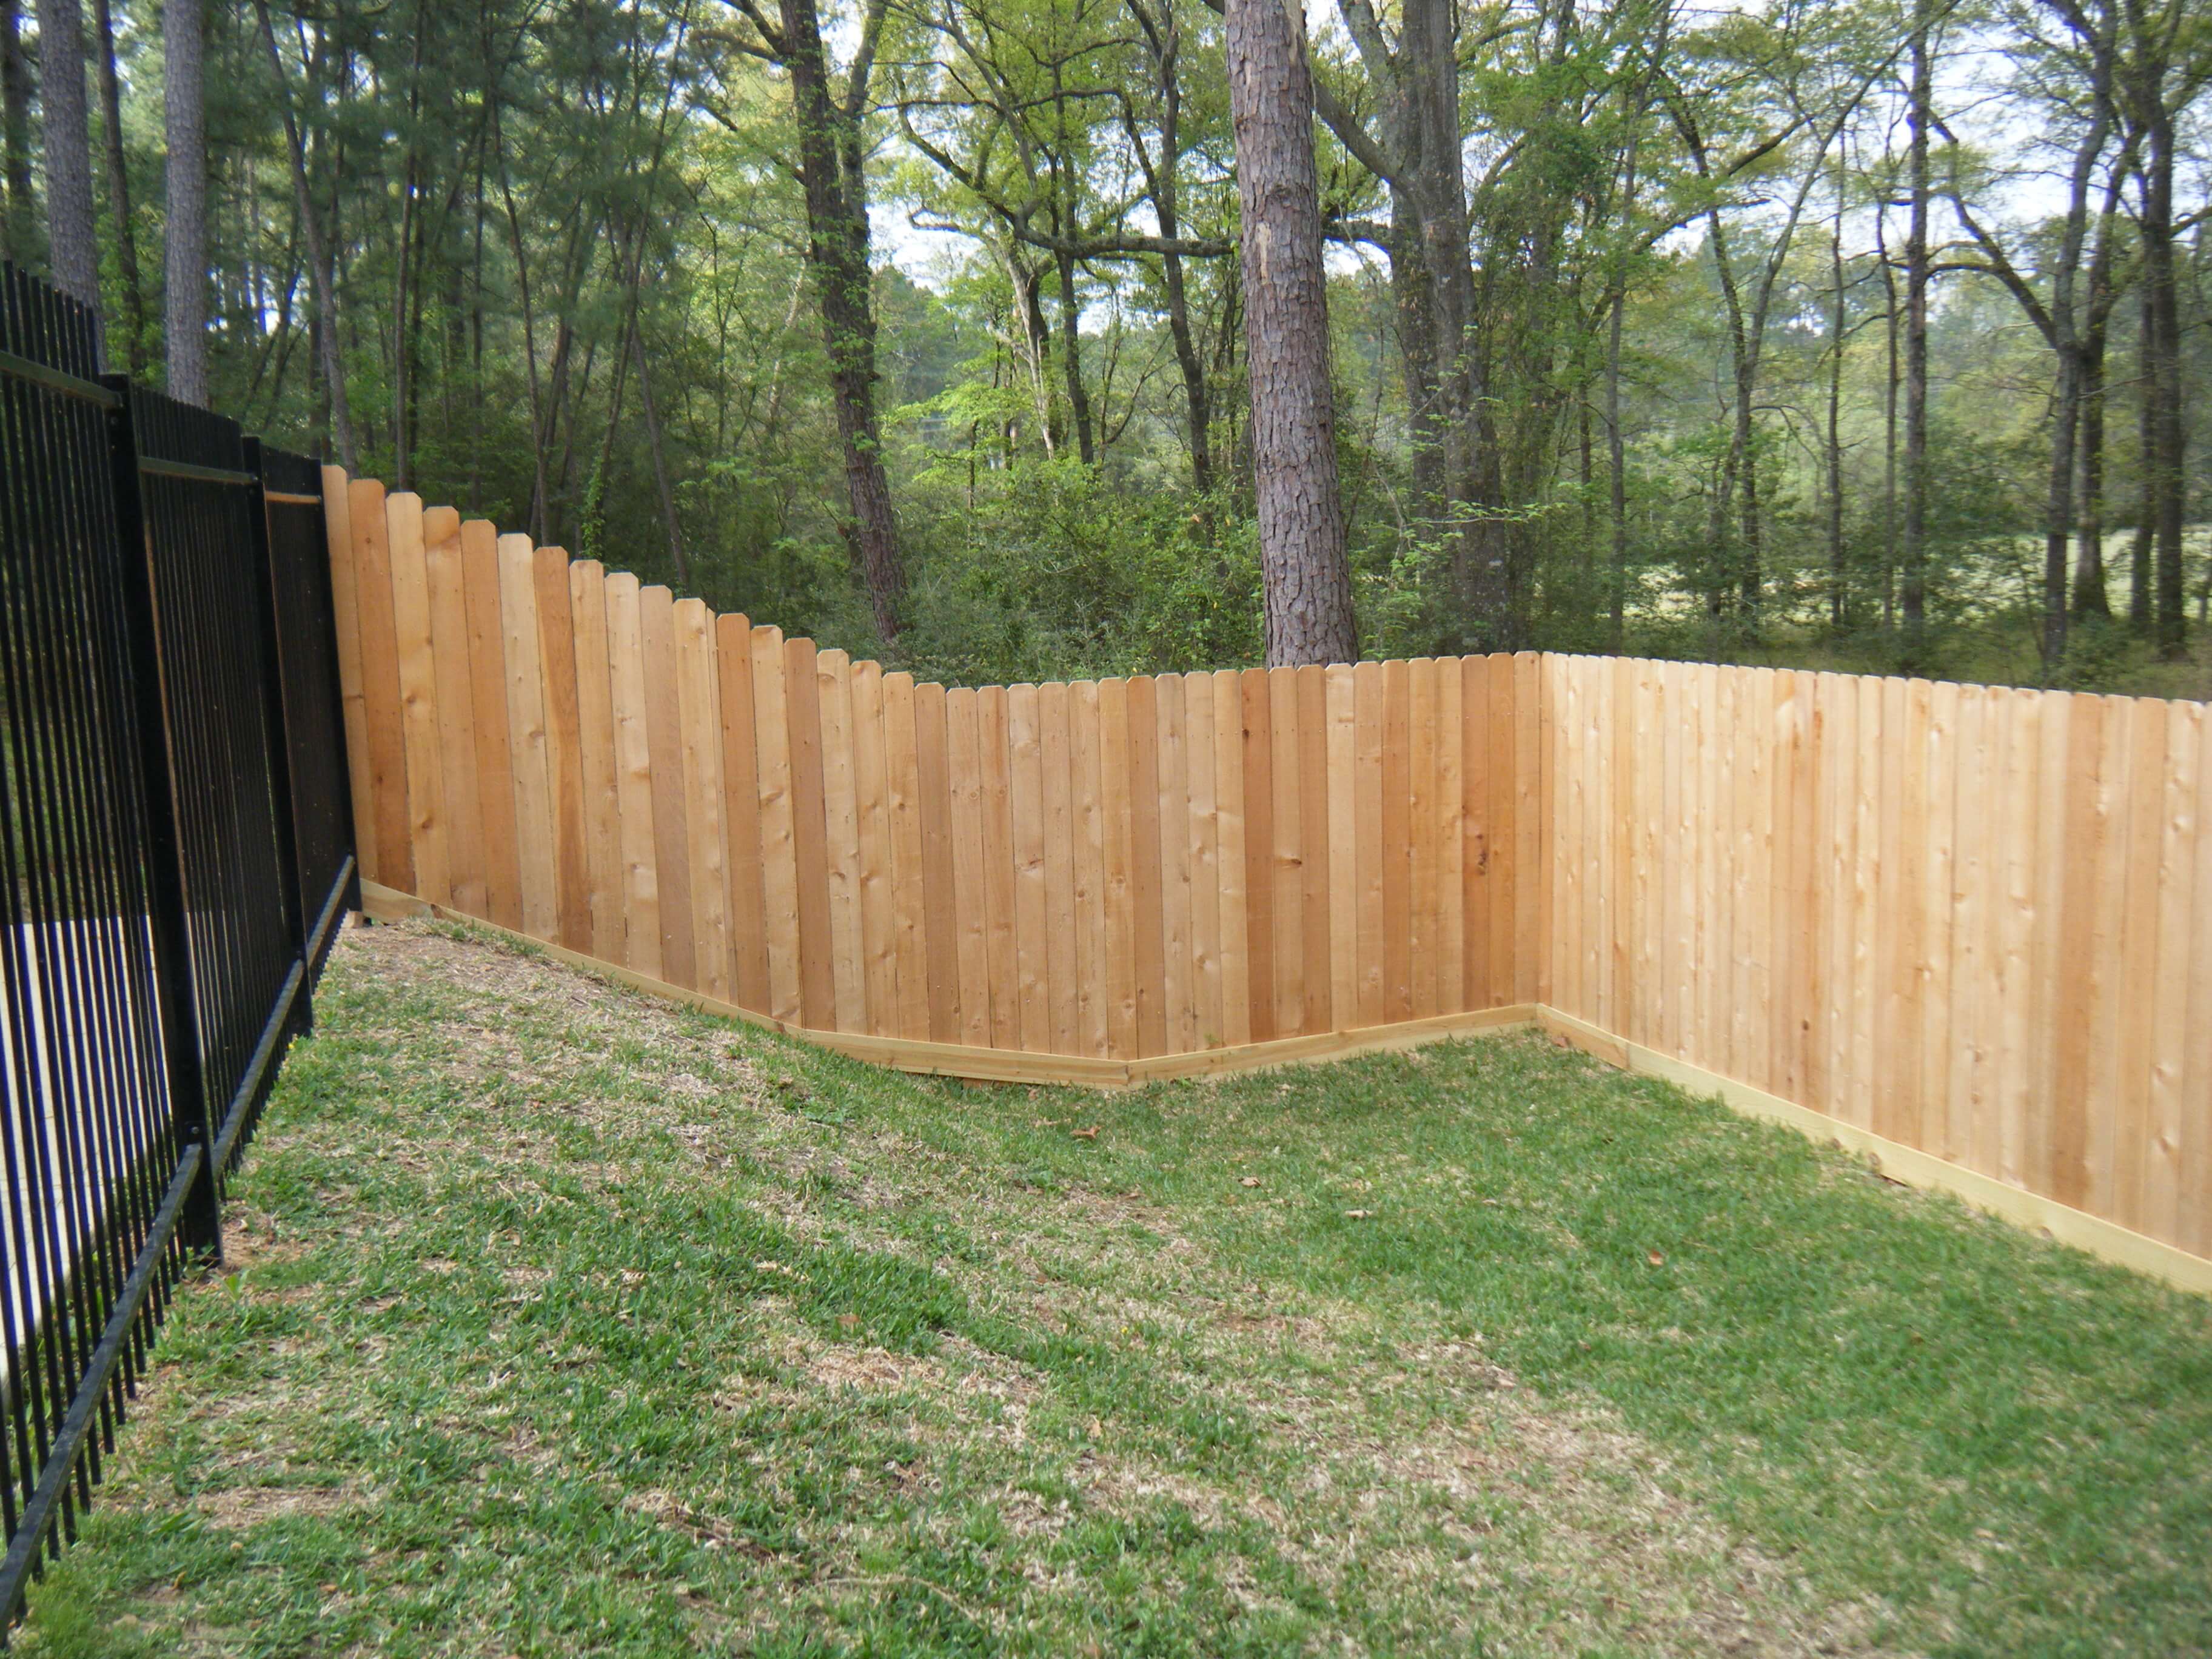
Adds airflow and a decorative flair to standard panels - Dog-Ear Fence
Clean and simple style with angled picket tops
Our Custom Wood Fence Process
- Step 1: Free Consultation
We evaluate your property, discuss your goals, and review style options that suit your home and neighborhood. - Step 2: Material and Layout Selection
Choose from cedar, pine, or composite wood, and decide on the fence height, design, and layout. - Step 3: Permits and HOA Compliance
We manage all permitting and help submit drawings to your HOA for approval if needed. - Step 4: On-Site Construction
Our skilled crews hand-build your fence on location, ensuring every post is set deep and every panel is level. - Step 5: Final Walkthrough and Cleanup
We inspect the completed fence with you and leave the site clean and ready to enjoy.
Top Rated & Certified Houston Fence Contractor.
If you are looking for a Houston fence company that provides residential or commercial fencing and focuses on superior customer service, look no further than Texas Fence


FAQs
How long does a wood fence last in Houston?
A properly maintained cedar fence can last 15 to 20 years or more. We offer staining services to help extend its life.
Do I need to stain my fence right away?
Yes. We recommend staining your fence within 30 to 60 days of installation to protect it from sun and water damage.
What is the difference between side-by-side and board-on-board fencing?
Side-by-side fences have boards placed edge to edge. Board-on-board fences overlap, providing more complete privacy and a heavier-duty structure.
Do you build custom gates with wood fences?
Yes. We build wood gates to match the style and height of your fence and can include hardware, latches, and decorative options.
Can I get a quote without someone coming out?
We do offer virtual estimates in some cases. But for the most accurate quote, we recommend a quick on-site visit to measure your property.
Where We Build Wood Fences
We proudly build wood fences throughout the Greater Houston area, including:
Katy | Cypress | Tomball | Magnolia | Spring | The Woodlands | Sugar Land | Pearland | Kingwood
| What Sets Us Apart | What It Means for You |
| Premium Cedar or Treated Pine | Lasting performance with natural resistance to rot and insects |
| Built On-Site by Experts | Every board is measured and installed to match your yard |
| Custom Design Options | Choose the style, height, and finish that fit your home |
| Strong Post Setting | Posts set deep in concrete for long-term durability |
| Fast, Professional Installation | Most fences installed in just a few days |
| Maintenance and Staining Available | Keep your fence protected and looking fresh |
| Option | Description |
| Staining and Sealing | Protect your fence from UV rays, moisture, and aging |
| Decorative Trim | Add finishing touches with cap rails, kickboards, and more |
| Custom Gates | Matching wood gates for side yards or driveways |
| Steel Posts | Add extra strength without sacrificing appearance |
| Lattice or Window Panels | Let light and airflow through without losing privacy |
| Tip | Description |
|---|---|
| Clean regularly | Use a mild soap and water solution to remove dirt and mildew. |
| Inspect hardware | Check hinges, latches, and bolts for wear or rust. |
| Re-seal or repaint | Depending on the material, apply a fresh coat every 2–3 years. |
| Trim nearby vegetation | Prevent damage from overgrown plants and root systems. |
| Check alignment | Ensure gates and panels open/close smoothly without dragging. |
| Tip | Description |
|---|---|
| Secure posts | Set posts in deep concrete footings to avoid leaning or collapse. |
| Latch safely | Use child-proof or lockable latches for gates. |
| Avoid sharp edges | Ensure there are no exposed screws or splinters. |
| Monitor wear | Replace damaged boards or mesh immediately. |
| Install lighting | Enhance visibility around the gate/fence area at night. |
| Related Service | Benefit or Use Case |
|---|---|
| Access Control Systems | Add keypad entry or remote openers for convenience. |
| Custom Driveway Gates | Improve property access and curb appeal. |
| Bufftech Fencing | Low-maintenance vinyl option for privacy. |
| Chain Link Fence Installation | Cost-effective security solution for large areas. |
| Iron & Aluminum Fence Installation | Durable and decorative boundary option. |